


In the previous article we created home page and now we are going to slice it.
Step 1 - .xcf file
Make copy of your .xcf file.

Step 2 - Header
We will stretch it out across the whole screen. We are going to take slice of header and repeat it across the screen again and again.
a) Open the copy of your .xcf file - first-website - Copy.xcf. Remove all guides from document. Select Move Tool (M),

hover over guide (red line), click (green line) and move left to the ruler to remove vertical guides. If you have any horizontally guides, hover over them, click and move up to the ruler to remove them.


b) Draw guides for our header slice (top bar, header and navigation bar). We need 4 guides, 1 on top of top bar (dark blue), 1 on right side (before logo), 1 on bottom, below navigation bar (bar with gradient) and 1 on left side (few px to the right from the beginning of document).

Go to top menu, click Image -> Transform -> Guillotine.

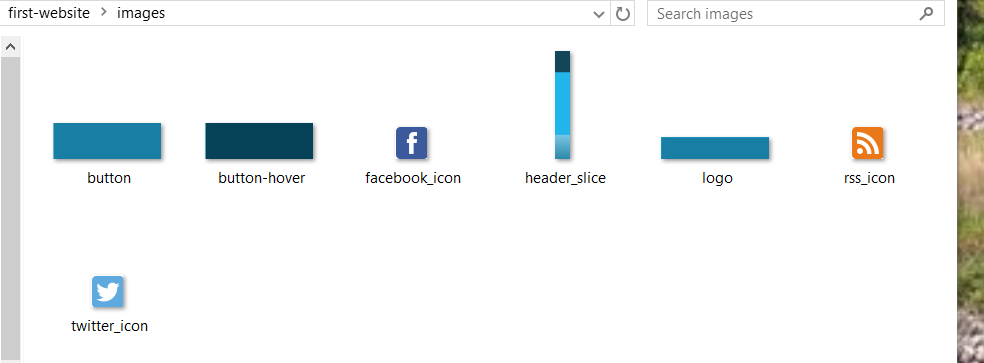
You'll get sliced images (I have 9, not counting main document).

Find the header slice,

set it to left side and place the rest of images on right side.
c) Close all images except main document and header slice. Hover over X in right corner and click,

saving the image window will pop out. Click Don't Save button.

Repeat step 2c until you close all images. Second option to close document is, go to top menu, click File -> Close (CTRL+W)

and saving the image window will pop out. But be sure that document that you want to be closed is selected.
d) Save image. Go to top menu, Click File -> Save As (Shift+CTRL+S).

Save Image window will pop out. In the Name field select all text and type the name of image - header_slice.png, find your folder images (first-website/images) and click Save button. Export File window will pop out, click Export,

then click Save button.

Close image header_slice.png.
e) Remove guides. Remove all guides (step 2a) from main document.
Step 3 - Logo
a) Draw guides for our logo slice. Draw 4 guides around logo rectangle.

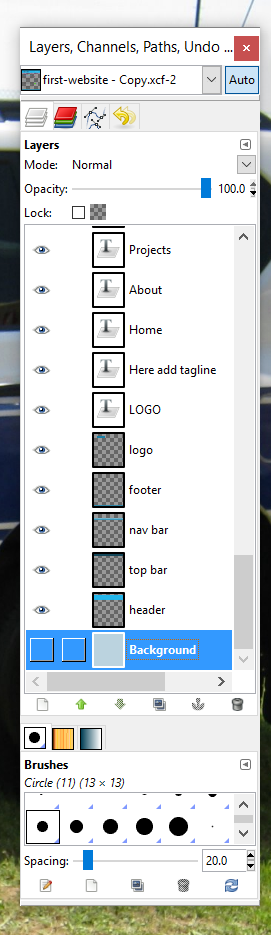
Select LOGO text layer.

Click on eye to hide LOGO text.

Then select any other layer except LOGO text, for example, select Background layer.

Because if don't, you'll get empty text selection on the image.

And this is how your button image will look like.

b) Go to top menu, click Image -> Transform -> Guillotine. You'll get sliced images.

Find the right slice and set it to left side (you can set it where ever you want, this is how I'm doing)

and place the rest of images on right side.
c) Save logo image. First, close all other images (except main document and logo image) - step 2c. Select document with logo image and go to top menu, Click File -> Save As (Shift+CTRL+S), Save Image window will pop out. In the Name field select all text and type the name of image - logo.png,

find your folder images (first-website/images) and click Save button. Export File window will pop out, click Export,

then click Save button.

Close image header_slice.png.
d) Remove guides. Remove all guides (step 2a) from main document.
Step 4 - Icons
a) Zoom in to 200%.

Draw guides for our icons.


b) Hide background layers. Select sidebar layer.

Click on eye to hide it.


Select Background layer.

Click on eye to hide it.


b) Go to top menu, click Image -> Transform -> Guillotine. You'll get sliced images. Find the icons and set them to left side and place the rest of images on right side.

c) Save icon images. First, close all other images (except main document and icon images) - step 2c. Select document with rss image and go to top menu, Click File -> Save As (Shift+CTRL+S), Save Image window will pop out. In the Name field select all text

and type the name of image - rss_icon.png,

find your folder images (first-website/images) and click Save button. Export File window will pop out, click Export,

then click Save button.

Close image rss_icon.png. Repeat this step to save twitter_icon and facebook_icon images.

d) Select Background layer and click on eye.
Select sidebar layer and click on eye.

Zoom out to 100%.

Remove guides. Remove all guides (step 2a) from main document.
Step 5 - Button
a) Draw 4 guides for our button image.

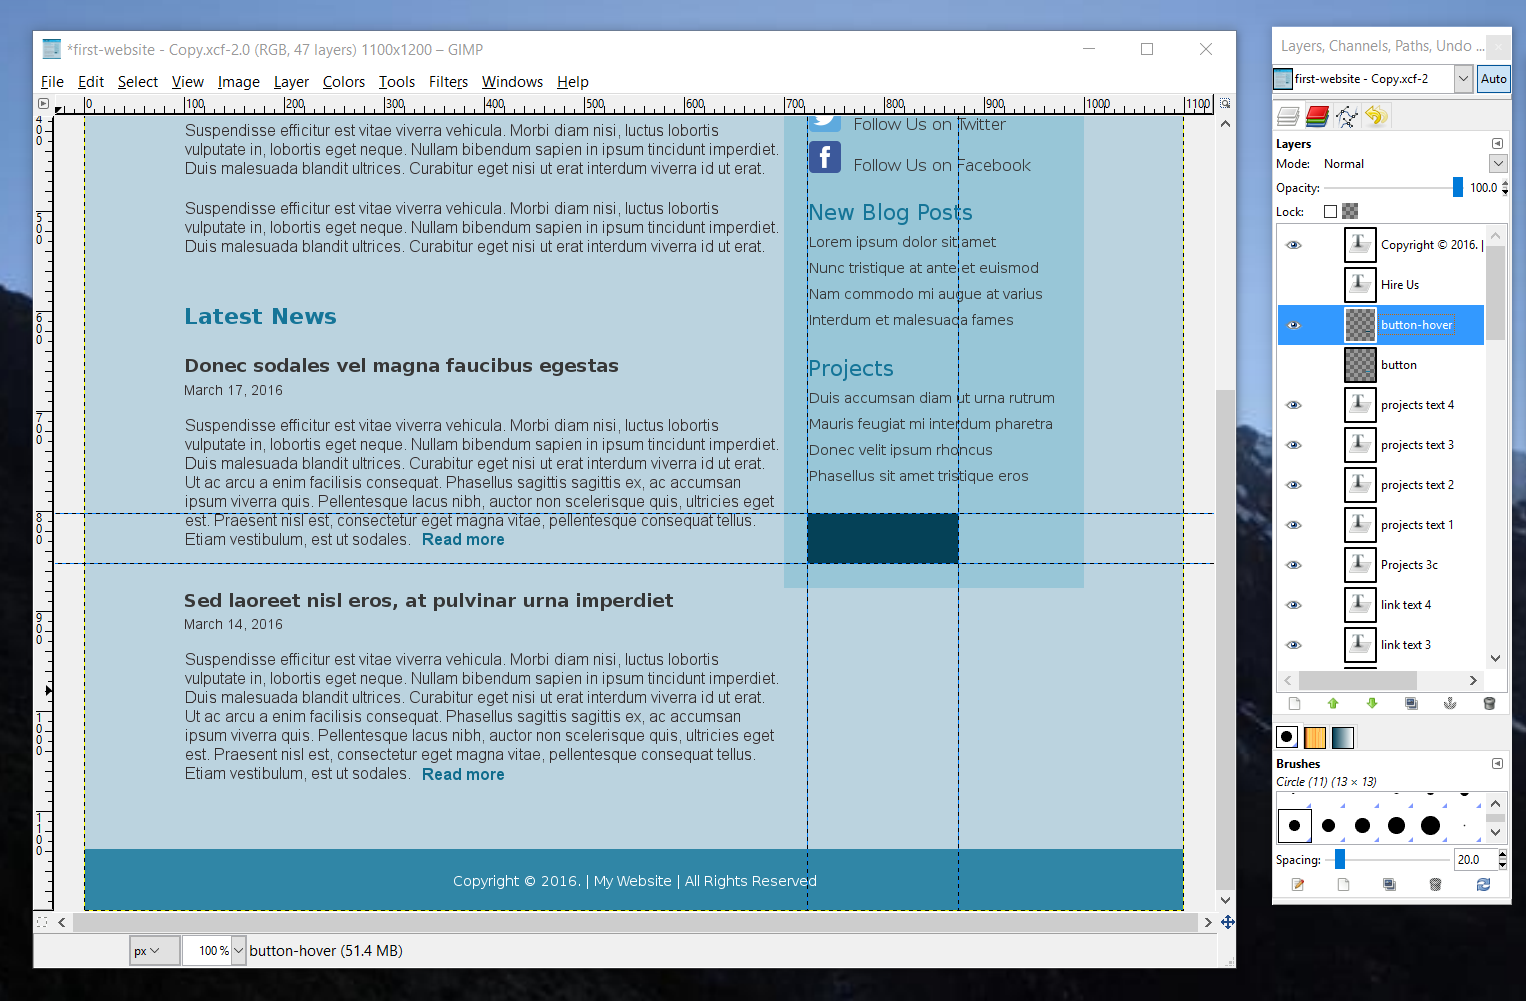
b) Adding hover button. Leave guides, select button layer.

Duplicate layer (left from anchor) and rename it to button-hover.

Select button layer and click on eye, to hide it.


Select button-hover layer.

Select Bucket Fill Tool (Shift+B),

choose darker color #054157, for our hover button

and fill the rectangle.

c) Slicing button image. First, we'll hide button-hover layer. Select button-hover layer,

click eye to hide it.

Select button layer,

click first empty square

and eye will show.

Go to top menu, click Image -> Transform -> Guillotine. You'll get sliced images. Find the image button and set it to left side and place the rest of images on right side.

Close all other images (except main document and button image) - step 2c. Select document with button image and go to top menu, Click File -> Save As (Shift+CTRL+S), Save Image window will pop out. In the Name field select all text and type the name of image - button.png, find your folder images (first-website/images) and click Save button. Export File window will pop out, click Export, then click Save button.

Close image button.png.
d) Slicing button-hover image. First, we'll hide button layer. Select button layer,

click eye to hide it.

Select button-hover layer,

click first empty square and eye will show.
Go to top menu, click Image -> Transform -> Guillotine. You'll get sliced images. Find the image for button-hover and set it to left side and place the rest of images on right side.

Close all other images (except main document and button hover image) - step 2c. Select document with button hover image and go to top menu, Click File -> Save As (Shift+CTRL+S), Save Image window will pop out. In the Name field select all text and type the name of image - button-hover.png, find your folder images (first-website/images) and click Save button. Export File window will pop out, click Export, then click Save button.
Close image button-hover.png.
e) Remove guides. Remove all guides (step 2a) from main document.
Step 6 - Footer
Same as for header. We will stretch it out across the whole screen. We are going to take slice of footer and repeat it across the screen again and again.
b) Draw guides for our footer slice. We need 4 guides.

Go to top menu, click Image -> Transform -> Guillotine. You'll get sliced images. Find the right one, set it to left side and place the rest of images on right side.

c) Close all images (except main document and footer slice) - step 2c.
d) Save image. Click File -> Save As (Shift+CTRL+S), Save Image window will pop out. In the Name field select all text and type the name of image - footer_slice.png, find your folder images (first-website/images) and click Save button. Export File window will pop out, click Export, then click Save button. Close image footer_slice.png.
That's it.
No comments:
Post a Comment
Note: Only a member of this blog may post a comment.