
1. Create a new document . For this tut I used 600px x 300px.

2. Set the colors to Foreground to black and Background to white (D).
3. Go to Filter, hover over Render and click on Clouds.

4. Go to Filter, hover over Render and click Difference Clouds two times.


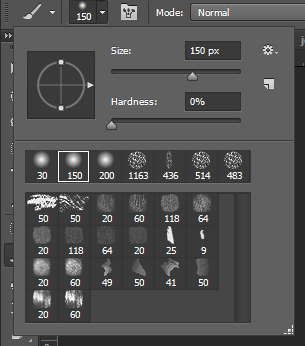
5. Select a black soft brush with a size of 150px and hardness of 0%. Start brushing all over the corners until your picture looks the image below.


6. Go to Filter and click on Liquify (Shift+CTRL+X)

and choose the forward warp tool at the top left corner.

Change the brush size to 75 and brush pressure to 55


7. Next change the Foreground color to f70505 and the Background color to f9f607.


8. Click on Layer, hover over New Adjustment Layer and click Gradient Map.


Add a black color to the left of the gradient and white to the right side of the gradient.

9. Optional: you can pick a black soft brush with a size of 150px, hardness of 0% and you can add more. Also you can lower your opacity. If you pick yellow foreground color with 100% opacity you'll get white spot framed with yellow.


2. Set the colors to Foreground to black and Background to white (D).
3. Go to Filter, hover over Render and click on Clouds.

4. Go to Filter, hover over Render and click Difference Clouds two times.


5. Select a black soft brush with a size of 150px and hardness of 0%. Start brushing all over the corners until your picture looks the image below.

6. Go to Filter and click on Liquify (Shift+CTRL+X)

and choose the forward warp tool at the top left corner.

Change the brush size to 75 and brush pressure to 55

and start brushing over the middle, side and top of the fire to give the desired effect.


8. Click on Layer, hover over New Adjustment Layer and click Gradient Map.


Add a black color to the left of the gradient and white to the right side of the gradient.

9. Optional: you can pick a black soft brush with a size of 150px, hardness of 0% and you can add more. Also you can lower your opacity. If you pick yellow foreground color with 100% opacity you'll get white spot framed with yellow.

You can play around and get something like image below.


No comments:
Post a Comment