
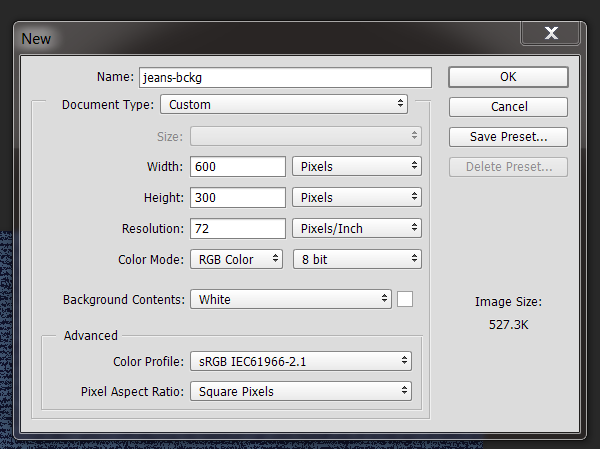
1. Create a new document . For this tut I used 600px x 300px.

2. Fill the layer with a blue color 183e6e.


3. Create a new layer, name it grey and fill it with grey color 7b7b7b.


4. Set the Foreground color to black and Background color to white (D).

5. Go to Filter and click on Filter Gallery,

click on arrow to open Sketch folder. Click on Halftone Pattern.

Set the Size to 1 and Contrast 0. For Pattern Type choose line.


6. Go to Filter, hover over Pixelate and click on Mezzotint.

For Type select Fine Dots.


7. Duplicate the grey layer (select grey layer and press CTRL and J).

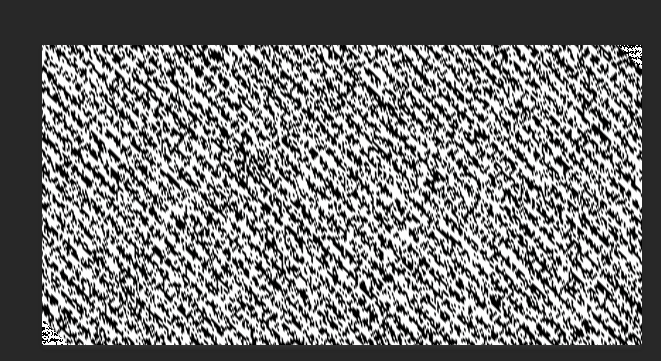
8. With grey copy layer selected, press CTRL and T. In the top bar change W to 200%, H to 200% and 45 degrees. Press Enter.


9. Go to Filter, hover over Blur and click on Gaussian Blur.

Set Radius to 1.


10. Set the Blend Mode of grey copy layer to Multiply.


11. Set the Blend Mode of grey layer to Soft Light.


You can play around with step 8 and get something like image below.

2. Fill the layer with a blue color 183e6e.


4. Set the Foreground color to black and Background color to white (D).

5. Go to Filter and click on Filter Gallery,

click on arrow to open Sketch folder. Click on Halftone Pattern.

Set the Size to 1 and Contrast 0. For Pattern Type choose line.


6. Go to Filter, hover over Pixelate and click on Mezzotint.

For Type select Fine Dots.


7. Duplicate the grey layer (select grey layer and press CTRL and J).

8. With grey copy layer selected, press CTRL and T. In the top bar change W to 200%, H to 200% and 45 degrees. Press Enter.

9. Go to Filter, hover over Blur and click on Gaussian Blur.

Set Radius to 1.


10. Set the Blend Mode of grey copy layer to Multiply.


11. Set the Blend Mode of grey layer to Soft Light.


You can play around with step 8 and get something like image below.

Or you get something even better :)

No comments:
Post a Comment